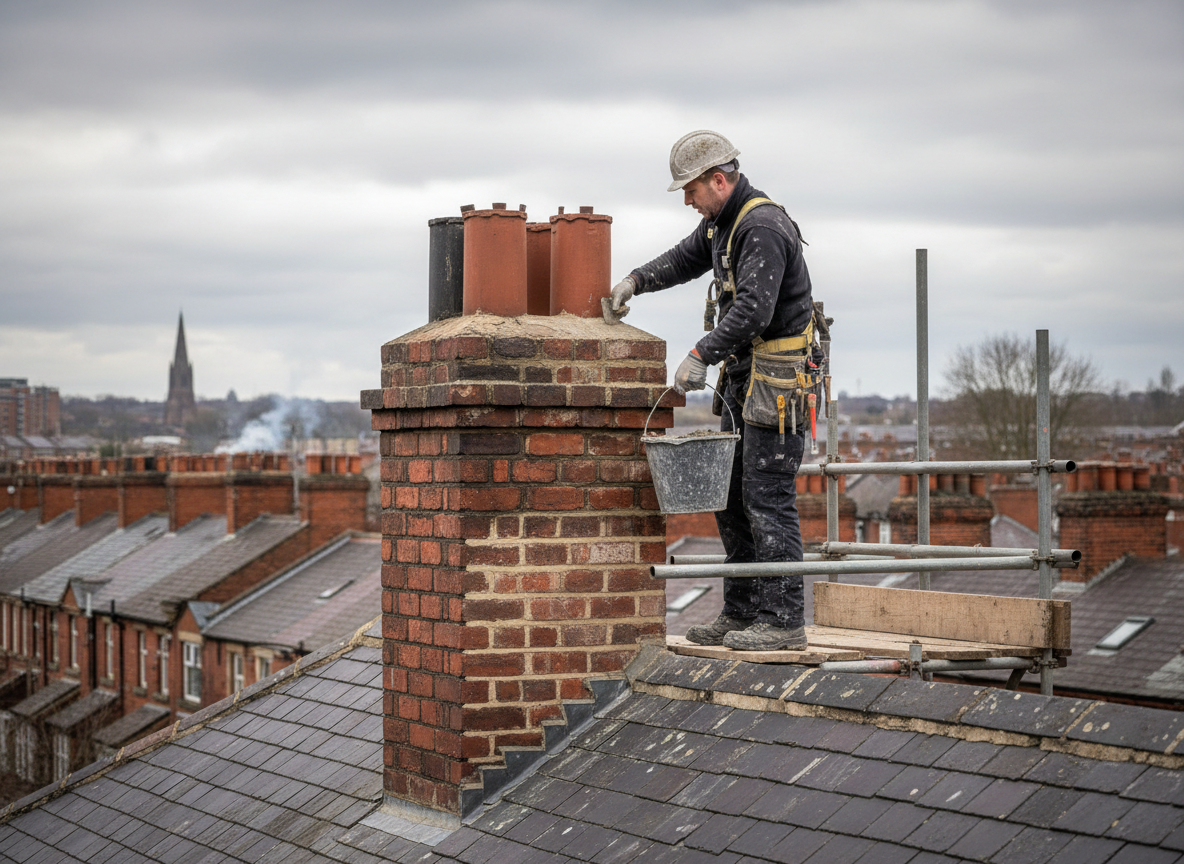
Manchester Township homes often feature brick chimneys built decades ago that now show spalling faces and eroded mortar joints from repeated freeze-thaw cycles. Water enters through hairline cracks in the crown or flue tile, then expands when temperatures drop, loosening bricks and allowing further moisture into the attic. NexaroWorks starts every job by removing loose material and repointing with type N mortar matched to the original, followed by a new concrete crown sloped for drainage.
Edge cases appear when chimneys share walls with neighboring structures or sit on uneven terrain common along the Toms River watershed. In these situations the repair must account for differential settling that can reopen joints within a season. We install stainless steel ties and flexible flashing at the roofline to accommodate movement while maintaining a weather-tight seal that meets local code requirements for spark arrestors and height.
Homeowners frequently overlook the condition of the flue liner itself. A cracked clay liner allows creosote and heat to reach the brick, accelerating deterioration from the inside. When inspection reveals this, we recommend a cast-in-place liner before exterior brick work begins so the entire assembly performs as one system rather than a series of patches.
Technician insight
In Manchester the thing that catches most people out with brick chimney repair is the way clay soil along the river keeps foundations damp year-round, so water keeps wicking up the chimney base even after we fix the crown. Homeowners think the problem is solved once the top looks good, but we always check the grade around the house first.
Spalled Brick on South-Facing Chimney
Problem: homeowner noticed crumbling bricks and water stains on the second-floor ceiling after a hard winter. What we found: south wall had lost face brick and the flue tile was cracked behind it. What we did: removed damaged brick, installed new flue liner, repointed with matching mortar and added a stainless steel cap. Outcome: draft restored and no further moisture entry reported the following season.
How it works
- 1
Site Assessment
Visual and camera inspection of brick surfaces, crown, flue and flashing from ground and roof level.
- 2
Damage Mapping
Mark spalled bricks, failed mortar and water entry points then photograph for the homeowner.
- 3
Material Removal and Prep
Cut out damaged brick and rake joints to sound material, clean surfaces of debris and efflorescence.
- 4
Rebuild and Finish
Replace or repoint with matching brick and mortar, install new crown and verify draft before cleanup.
Pricing
Cost depends on height, extent of brick replacement and whether a liner is required; we provide an upfront written scope before work begins.