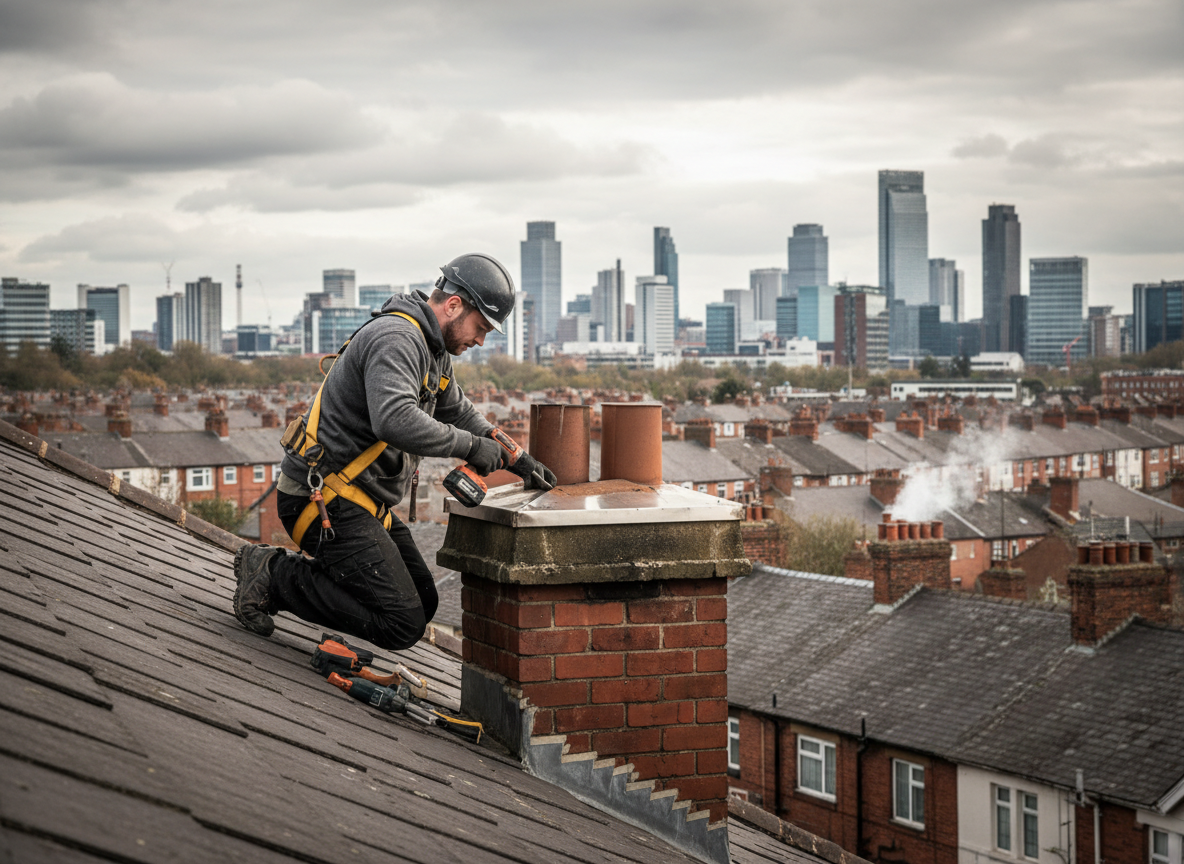
Chimney caps in Manchester take constant abuse from heavy snow, ice expansion, and wind-driven rain common along the Merrimack River corridor. Older cap designs using galvanized steel corrode quickly once the protective layer fails, allowing water to run down the flue and saturate masonry joints. Stainless steel or copper replacements hold up better but still require proper anchoring to resist the uplift forces that develop during nor'easters.
Access on two-story homes in neighborhoods like West Manchester or near the Amoskeag Millyard often means setting up ladders on uneven backyards or coordinating with roofers when the cap sits on a steep pitch. We check the flue tile alignment and crown condition at the same time because a failing cap frequently masks cracks that let water into the attic. Skipping this step leads to callbacks once spring rains arrive.
Homeowners sometimes attempt to reseal an existing cap with silicone, but that approach fails within one freeze-thaw cycle and can trap moisture against the masonry. Proper repair involves removing the old unit, inspecting the chase top, and installing a new cap with the correct mesh size to keep out both animals and embers while maintaining draft.
Technician insight
In Manchester, the thing that catches most people out with chimney cap repair is the way heavy snow packs against caps on older cap-and-crown setups common in West Manchester homes; once the cap bends or mesh tears, meltwater runs straight into the flue and saturates attic insulation before anyone notices.
Crushed Cap After Early Snow
A homeowner in Manchester noticed water stains on the ceiling after the first heavy snow. We found the galvanized cap crushed flat with mesh torn open. The old unit was removed, the crown checked for cracks, and a new stainless cap installed with proper standoffs. Draft returned to normal and no further interior leaks occurred.
How it works
- 1
Site Inspection
We examine the existing cap, flue opening, and surrounding masonry for corrosion, missing mesh, and water staining.
- 2
Damage Assessment
Measurements are taken for cap size and material while noting any crown or chase-top deterioration that must be addressed together.
- 3
Cap Removal and Preparation
The old cap is detached, debris cleared, and the mounting surface cleaned to ensure the new unit seats properly.
- 4
Installation and Testing
New cap is secured with appropriate fasteners, then a draft check confirms proper airflow before final sign-off.
Pricing
Upfront quotes provided after inspection; final cost depends on cap material, chimney height, and any concurrent crown repairs needed.