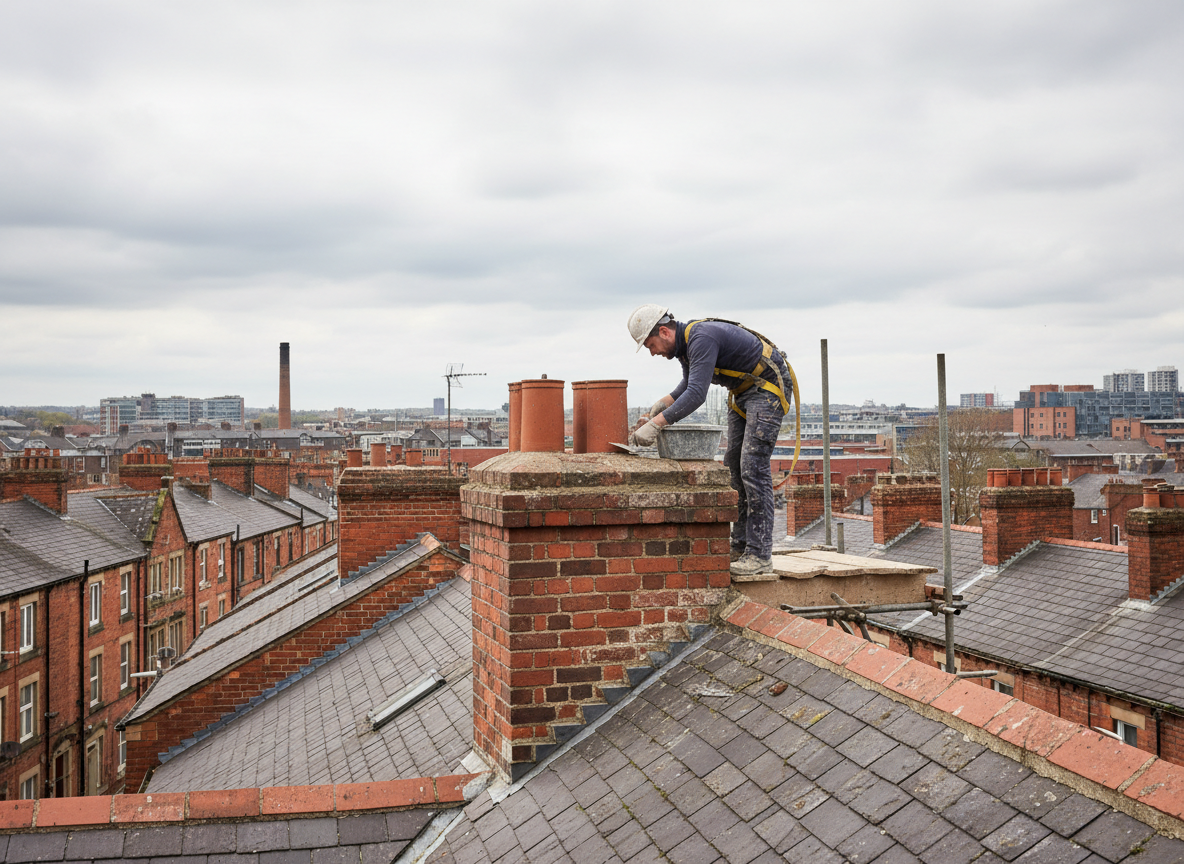
Chimney restoration in Manchester often starts with a full inspection of the flue liner, crown, and flashing where years of creosote buildup and ice expansion have created cracks. Older homes near the center of Manchester frequently show separation at the mortar joints because the original construction used softer bricks that do not hold up well to repeated freeze-thaw cycles. We remove loose material, repoint with appropriate high-temperature mortar, and install new caps when the existing ones have spalled beyond repair.
Edge cases we see include chimneys that share a wall with additions added decades later, which creates differential settling and hidden voids in the masonry. In these situations we install stainless-steel liners sized to the appliance rather than attempting to patch the original clay tiles. We also check for water intrusion points where the roof pitch meets the chimney, a common failure on the steeper roofs found on many Manchester capes and colonials.
Code requirements in the Manchester area call for proper clearance from combustibles and correct termination height above the roofline. Homeowners sometimes overlook the need to bring the entire system up to current standards when only the exterior brick is being rebuilt, which can leave the job incomplete and unsafe.
Seasonal Considerations
Manchester winters drive most restoration calls because trapped moisture freezes and widens cracks that were minor in the fall. Scheduling the work before the first hard freeze lets us complete repointing and liner installation without temporary heat restrictions.
Technician insight
In Manchester, the thing that catches most people out with chimney restoration is how quickly water gets behind the flashing on the north-facing side of the chimney during our long winters; once it freezes it pushes the brick outward and the repair has to include resetting the flashing or the same problem returns the next season.
Manchester Chimney with Separated Crown
Problem: water was entering around the crown and running down inside the flue. What we found: the original crown had cracked in multiple places and the flashing had lifted on one side. What we did: removed the damaged crown, installed a new cast-concrete crown with proper overhang, and resealed the flashing. Outcome: the chimney now sheds water cleanly and the homeowner reports no further interior moisture.
How it works
- 1
Initial Assessment
We examine the chimney from top to bottom, checking for spalling, missing mortar, and liner condition.
- 2
Material Removal
Damaged brick, crown sections, and old flashing are carefully taken out while protecting the roof and siding.
- 3
Rebuild and Lining
New masonry is installed, a stainless liner is fitted if needed, and proper flashing is integrated with the roof.
- 4
Final Inspection
The completed chimney is tested for draft and water tightness before the job is considered finished.
Pricing
Cost depends on height, extent of masonry damage, and whether a liner is required.