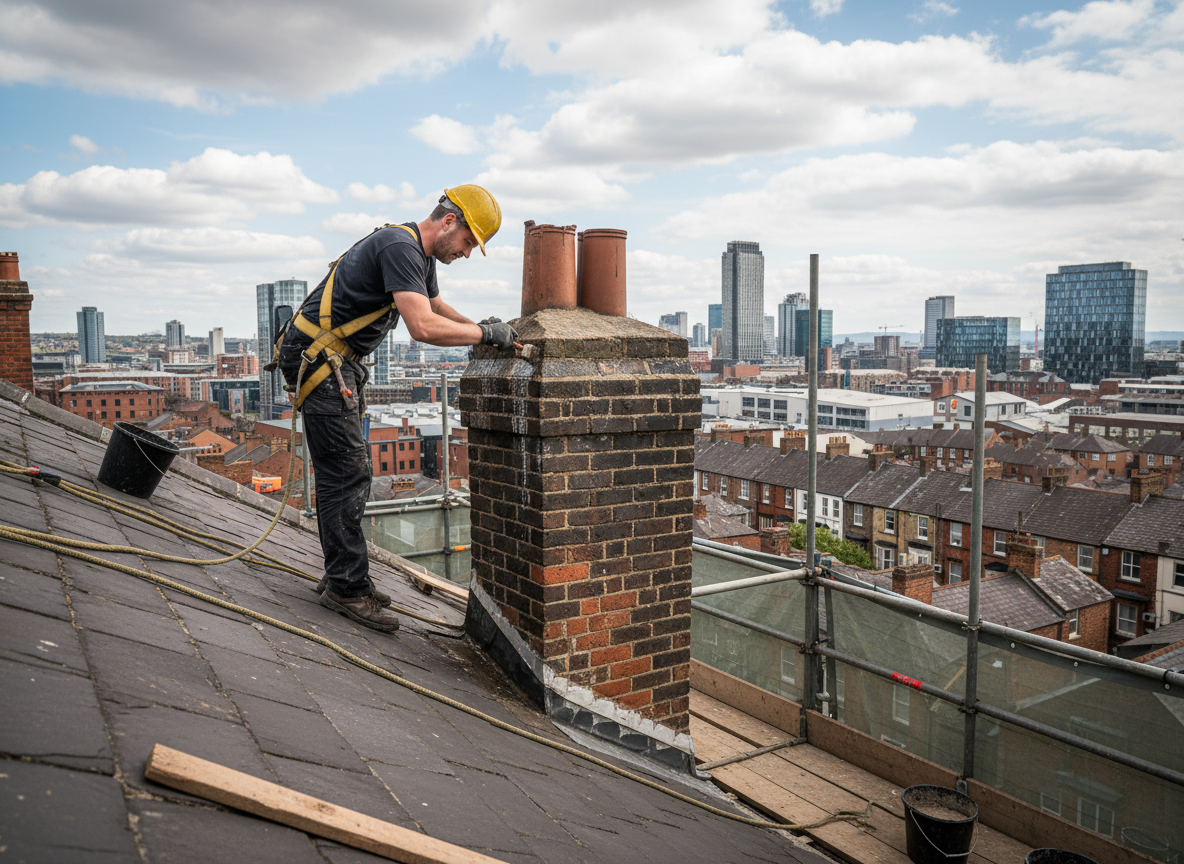
Chimney waterproofing begins with a full inspection of the crown, flue tile joints, and flashing where water most often enters older masonry stacks common throughout Manchester Township. We apply breathable silane-siloxane sealers that penetrate brick and mortar without trapping moisture inside the structure. Edge cases include chimneys shared by multiple flues or those with prior parging repairs that have begun to delaminate; these require separate treatment of each joint before the final coat.
In the Manchester area, winter freeze-thaw cycles and summer thunderstorms drive most callouts. Water that reaches the smoke chamber can damage the damper assembly and eventually the ceiling joists below. Proper waterproofing includes checking the cricket and step flashing on the roof side, because a single missed seam will allow water to travel behind the new sealer within one season.
Homeowners often confuse waterproofing with simple exterior painting. Paint films crack and peel on chimneys that expand and contract daily, while a quality penetrating sealer moves with the masonry. We never apply sealers over soot or efflorescence; the surface must be cleaned first so the product bonds directly to the substrate.
Technician insight
In Manchester, the thing that catches most people out with chimney waterproofing is how quickly water travels down the shared wall between two flues in the 1970s and 1980s split-level homes. Homeowners see a stain on one side and assume only that flue needs work, but the water is usually crossing over from the untreated side.
Leaking Chimney on Manchester Street
Water stains appeared on the second-floor ceiling after a week of rain. We found the crown had hairline cracks and the flashing had pulled away on the north side. We cleaned the masonry, repaired the crown joints, and applied two coats of sealer. No further leaks occurred after the next several storms.
How it works
- 1
Initial Inspection
We examine the crown, flue, flashing, and surrounding roof deck for existing water paths and note any prior repairs.
- 2
Surface Preparation
Loose mortar, efflorescence, and soot are removed so the sealer can penetrate the masonry rather than sit on top of debris.
- 3
Sealer Application
Two coats of breathable silane-siloxane sealer are applied by brush and sprayer, with attention to all joints and the crown.
- 4
Final Check
We verify coverage, confirm no puddling on the crown, and document the work for the homeowner.
Pricing
Cost depends on chimney height, number of flues, and condition of the crown; we provide an upfront quote after inspection.