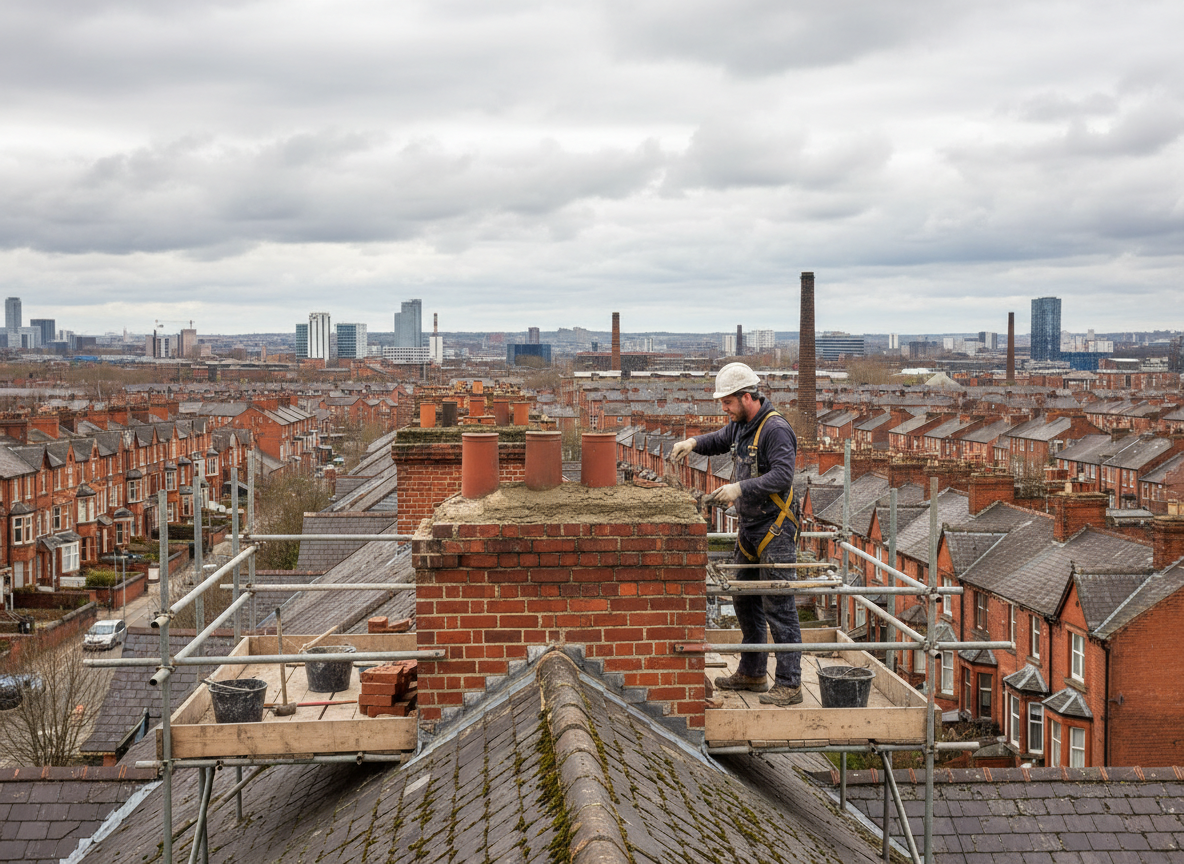
Manchester Township homes often feature masonry chimneys built between the 1960s and 1980s that have settled on sandy Ocean County soils. Repeated freeze-thaw cycles open hairline cracks in flue tiles and crown mortar, allowing water to reach wood framing. Left alone these leaks rot rafters and stain ceilings inside the house.
Repair starts with a top-down inspection that checks the flue liner, crown, flashing and any offset in the stack. Technicians remove loose mortar, install stainless-steel caps or new clay tiles where needed, and repoint with high-temperature mortar that resists the salt air drifting inland from the coast. Work is scheduled around weather windows because winter wind and summer humidity both affect cure times.
Homeowners in Pine Lake Park and Leisure Village East frequently call after noticing white efflorescence on bricks or musty odors near the fireplace. These signs point to water tracking behind the exterior brick. Addressing the crown and flashing at the same visit prevents the same moisture path from reopening the following season.
Code requires that any liner replacement meet current NFPA 211 clearance rules. When an old terra-cotta liner is removed, the new stainless-steel liner is sized to the appliance and backfilled with insulation to maintain draft and reduce condensation on the outer masonry.
Technician insight
In Manchester the thing that catches most people out with residential chimney repair is how quickly coastal humidity and winter freeze-thaw cycles open crown cracks on the older brick stacks common in Ocean County ranch and Cape homes. Homeowners usually notice the ceiling stain first, but the real problem starts at the top where the original mortar has already lost its bond. Catching it before the water reaches the rafters keeps the job to a crown and flashing fix instead of a full liner and framing repair.
Crown Leak in Leisure Village East
Water stains appeared on the living-room ceiling after a January thaw. The inspection found a cracked concrete crown and deteriorated step flashing on a 1978 brick chimney. Technicians removed the old crown, installed a new precast cap with proper overhang, and resealed the flashing. No further leaks occurred through the next two winters.
How it works
- 1
Initial Assessment
Technician climbs the roof to examine crown, flashing, and flue condition while noting any offset or spalling visible from the ground.
- 2
Moisture Diagnosis
Interior inspection checks for water stains, efflorescence, and draft issues that trace back to specific points on the chimney stack.
- 3
Material Removal
Damaged mortar, cracked tiles, or rusted flashing are cut out without disturbing sound masonry or the existing liner.
- 4
Repair and Sealing
New mortar, stainless cap, or liner section is installed and allowed to cure before a final draft test confirms proper function.
- 5
Final Walkthrough
Homeowner receives photos of the completed work and written notes on any future monitoring points around the chimney base.
Pricing
Upfront quotes are given after the roof inspection so homeowners know exact scope before any work begins.